Installing LED light strips is a fantastic way to enhance the aesthetics of your living space. However, the thought of installation might seem daunting for some. In this step-by-step guide, we will walk you through the process of installing LED light strips to help you achieve a stunning lighting upgrade in your home.
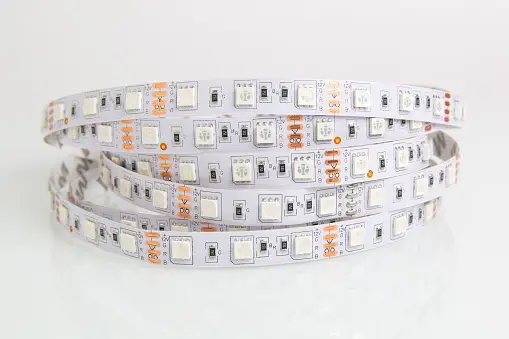
Gather Your Supplies: Before you start, make sure you have all the necessary supplies, including LED light strips, a power source, connectors, adhesive clips, and a remote control if applicable.Plan Your Layout: Determine where you want to install the LED light strips. Measure the length needed and plan the layout to ensure a seamless and uniform look.Prepare the Surface: Ensure the surface where you’re applying the strips is clean, dry, and free of dust. This will help the adhesive stick securely.Cut and Connect: If your LED strips are longer than required, you can cut them at designated points. Use connectors to join different sections if needed.Attach the Strips: Carefully remove the backing from the adhesive side of the LED strips and apply them to the surface, following your layout plan. Be precise to achieve the desired effect.Connect to Power: Connect the LED strips to the power source and ensure they work as expected.Test and Enjoy: Turn on your LED light strips, and if they come with a remote control, test different colors and lighting effects. Enjoy the transformation of your space!
This guide simplifies the installation process, making it accessible for DIY enthusiasts and those looking to upgrade their lighting with LED strips. With a bit of patience and creativity, you can achieve a stunning lighting upgrade in your home.